The inspector can set any size or spacing with exact numbers, but most of the time it is quicker to grab something and move it. Buildan.app's canvas works like a design tool: drag elements to reorder them, pull an edge to resize, drag a padding band to add breathing room, and select several things to line them up.
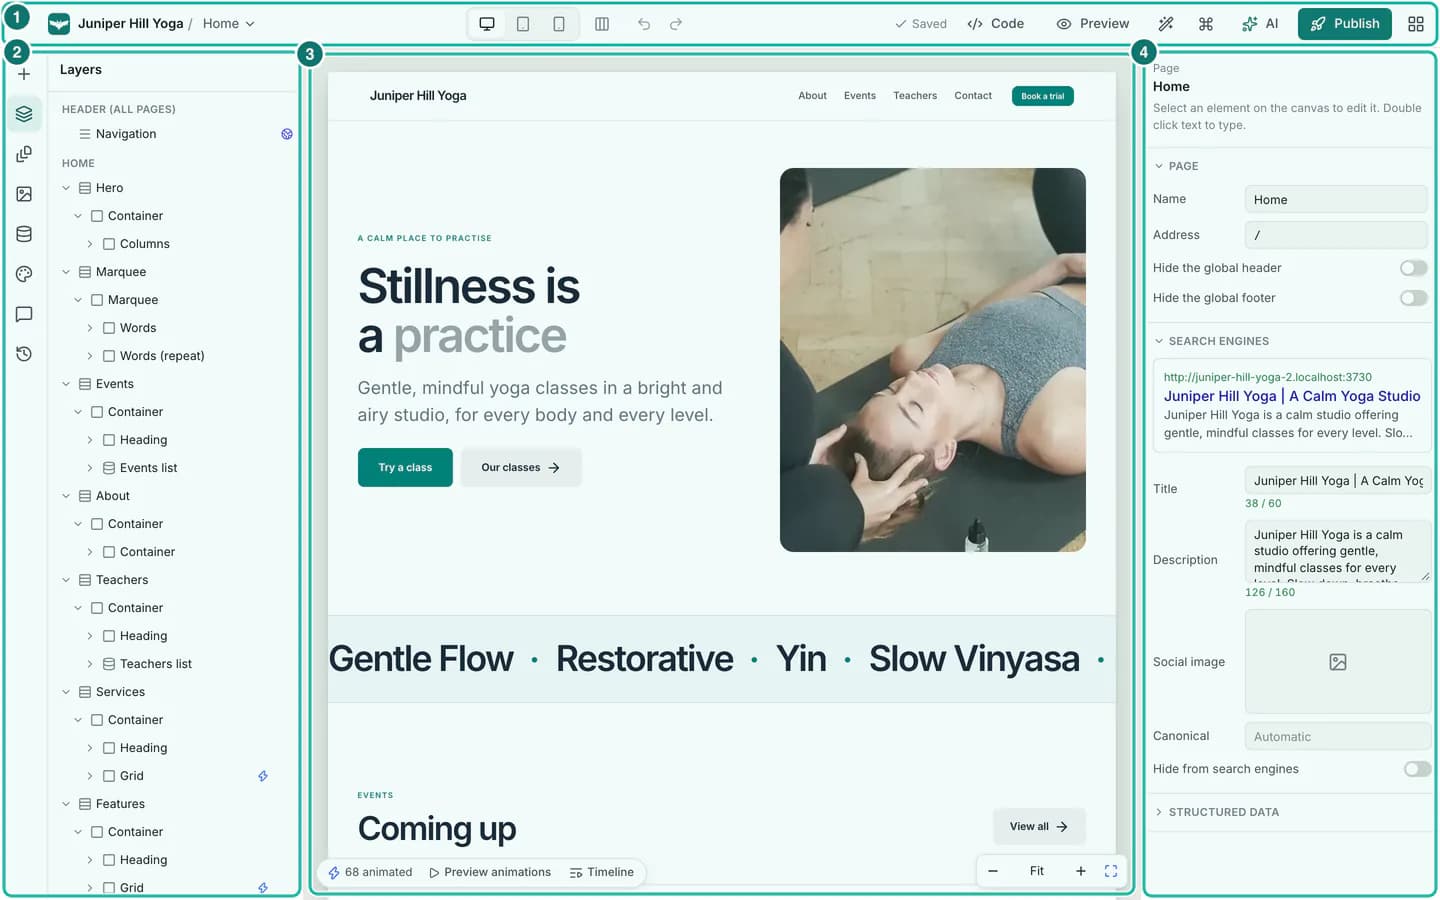
In this tutorial you will rearrange the feature cards on a yoga studio home page, resize a photo, change a column split and spacing, and work with several elements at once.
What you need
- A Buildan.app account and a site open in the editor. Any plan works.
- A mouse or trackpad. Touch works too: on a phone or tablet, press and hold an element to pick it up.
- It helps to know your way around the editor first. See the editor tour.
Moving things
Step 1: Select what you want to move
Click an element on the canvas. If the click lands on something inside it, such as a heading inside a card, press Esc to select the parent until the selection bar shows the element you want.
The selection bar has a drag handle on its left. You can drag by that handle, or simply press on the selected element itself and drag.
To move an element without selecting it first, hold ⌥ (Alt on Windows) while you drag, or press and hold it for a moment.
Step 2: Drag it to its new place
Press and move. After a few pixels the element lifts off the page and follows your pointer, and Buildan.app shows where it will land:
- A label such as Drop into Grid names the container that will receive it.
- A blue line marks the exact position among the other elements.
Release to drop it. Press Esc while dragging to cancel and leave everything as it was. If you drag towards the top or bottom of the canvas, it scrolls for you.
Buildan.app only offers places where the element is allowed. A section, for example, can never be dropped inside another section, and nothing can be dropped into the shared header or footer.
Step 3: Check the result, or undo it
The element stays selected in its new place. Every drop is one step in your history, so one press of Undo puts it back.
For small moves you do not need to drag at all. Press ⌥↑ or ⌥↓ to move the selected element one place up or down among its neighbours, or use the arrow buttons on the selection bar.
Step 4: Drag new elements in from the Insert panel
Everything in the Insert panel can be dragged as well as clicked. Open Insert, switch to Elements, and drag a tile onto the page. The same label and line show where it will land.
Images work the same way from the Assets panel: drag a photo onto the page and Buildan.app creates an image element where you drop it.
Step 5: Reorder in the layers panel
On a long page it is often easier to move whole sections in the Layers panel. Drag a row up or down. A line shows the new position and a label such as Into Home tells you which parent it will go into, so you can also move an element into a different container.
Resizing
Step 6: Resize from an edge
Select an image, a box, a button, a video, a form or another sizable element. Small handles appear on its right edge, bottom edge and bottom right corner.
- Drag the right edge to change the width, the bottom edge to change the height, or the corner to change both.
- A readout shows the size while you drag.
Widths snap to 8 pixel steps and to useful fractions of the parent: a quarter, a third, a half, two thirds, three quarters and the full width, with a guide when you hit one. Hold Shift to keep the shape, and double click a handle to reset that size to automatic. Images keep their shape unless you drag the bottom edge on its own.
For sections, boxes and buttons the bottom edge sets a minimum height, so the content can still grow if you add more text later.
Step 7: Change a column split
Select a grid of columns. A divider appears between the columns. Drag it left or right and a readout such as 60 / 40 shows the new split.
This is the fastest way to give a photo more room than the text beside it, or the other way round.
Spacing
Step 8: Drag padding and gaps
Select a box or section with some space around its content. Hover near an inside edge and a shaded band appears for that side's padding. Drag it to make the padding bigger or smaller. The value is shown in pixels as you drag.
Values snap to 4 pixel steps; hold Shift for single pixels. Hold ⌥ while dragging to change the opposite side by the same amount, which keeps things centred.
When a box arranges its children in a row, column or grid, a small pink handle sits between the first two children. Drag it to change the gap between all of them.
Working with several elements
Step 9: Select several elements
Hold Shift and click to add elements to the selection. A selection bar shows how many are selected, with alignment tools.
You can also drag a rectangle across empty space, or across an element that is not selected, to select every element fully inside it. Hold Shift while doing this to add to the current selection. ⌘A selects all of the selected element's siblings.
Step 10: Align, distribute and duplicate
The bar above a multiple selection gives you Align left, Align centre, Align right, Align top, Align middle and Align bottom, then Distribute evenly, Duplicate and Delete.
Alignment works inside the layout the elements already live in, so a page never breaks: in a column or grid it aligns each element within its cell, and for text in plain flow it changes the text alignment. Distribute evenly spreads elements that share one row, column or grid container. Like every style change, alignment only applies to the current breakpoint.
Step 11: Group elements with Wrap
Right click the selection to see more ways to arrange it. Under Arrange, Wrap in a box puts the selected elements inside a new box, which you can then style, move or animate as one. Wrap in columns puts them side by side in a new set of columns. To undo a wrap later, select the box and choose Unwrap.
Duplicate (⌘D) copies the selection right after the original, and ⌘C and ⌘V copy and paste elements, even between pages and sites.
Tips and pitfalls
- A click still selects. A drag only starts after you move a few pixels, so clicking and double clicking work as normal. While you are editing text, dragging selects text instead of moving the element.
- Every drag is one undo step. Moves, resizes, splits and spacing changes can all be reversed with ⌘Z.
- Mind the breakpoint. Sizes, spacing and alignment you change on tablet or mobile apply to that size and smaller only. Switch to desktop with 1 to change the base layout.
- Hold ⌥ to measure. With an element selected, hold ⌥ and point at another element to see the distance between them in pixels.
- Prefer layout tools over fixed sizes. If a box looks wrong on phones after resizing, double click the handle to return to automatic size and use the column split or padding instead.
Summary
You can move anything by dragging it on the canvas, in the layers panel or from the Insert and Assets panels, with a clear label and line showing where it will land. Edge handles resize elements with snapping, dividers change column splits, and shaded bands adjust padding and gaps. Shift click or a selection rectangle selects several elements, which you can align, distribute, duplicate or wrap together.
Next, make it all look the part with the theme, colours and fonts, then check every screen size in responsive design.