You do not need a designer, a template hunt or a weekend to get a good looking website. In Buildan.app you describe your business in plain words, and AI plans the pages, writes the copy, picks colours and fonts, lays out every section for desktop, tablet and phone, and opens the result in a real visual editor. Nothing is published until you say so.
This tutorial walks through the whole flow with a real example: Golden Crumb, an artisan sourdough bakery. By the end you will have a full site in the editor and know exactly what to do next.
What you need
- A Buildan.app account. Every plan, including Free, can generate sites with AI. Sign up if you have not yet.
- AI credits. Every plan includes a monthly allowance, and the new site page shows how many you have before you start. Generating a site uses credits based on the work done. See pricing for the allowances and credit packs.
- A few sentences about your business: what you do, who it is for, where you are, and which pages or forms you want.
Build the site
Step 1: Open Create a new site and choose Describe it
From your dashboard, start a new site. The Create a new site page offers three ways to begin: Describe it, Template and Blank. This tutorial uses Describe it, which is selected by default. (The other two are covered in Start from a template or a blank page.)
Type your description into Describe your business and the site you want. Good descriptions mention:
- the business name and what you sell or offer
- who your customers are and where you work
- the pages you need, for example a menu, opening hours, an about page
- any forms, such as a quote request, a booking request or a cake order form
- the feel you are after, in a few words
If you are stuck, click one of the example chips under the box to fill it in, then edit it to match your business. Add your Business name (optional) too, so it is spelled exactly the way you want everywhere on the site.
Step 2: Choose a style, or let AI choose
Scroll down to Style. By default the Let AI choose card is selected, and AI picks a style that fits your business. That is a great choice for a first site.
If you already have a look in mind, browse the style library instead. Search with words like "warm bakery" or "dark minimal", or narrow the list with the filters for industry, mood, Light and dark, Serif and sans headings and energy. The counter on the right shows how many styles match.
Click a card to use it. A tick appears on the card, and the line above the grid confirms your choice, for example Using Artisan Warmth. Colours, fonts and layout come from this style. Click Let AI choose again at any time to go back to the automatic choice.
Step 3: Decide on Generate as code, then click Generate site
At the bottom of the card you will find a checkbox called Generate as code. When it is ticked, the AI writes your pages as HTML and CSS that you can edit in code mode. Leave it unticked for your first site: as the app itself notes, the standard generation usually gives richer layouts. (Code mode has its own tutorial.)
Next to the button you can see how many AI credits you have available. When you are happy with the description, click Generate site.
Step 4: Watch the site being built
The Building your site screen shows four stages:
- Understanding your business and planning pages
- Writing content and choosing a design
- Building responsive layouts
- Opening the editor
Below the list, a short line tells you what is happening right now, such as choosing a style or choosing photos. As the screen says, this usually takes under a minute, and nothing is published: you review and edit everything first.
If something goes wrong, you will see Generation did not finish with a Try again button and an option to Change the description.
Review the result
Step 5: Meet your new site in the editor
When the build finishes, your site opens in the editor with a note at the bottom: Your site is ready. Tap or click anything to edit it, or ask the AI.
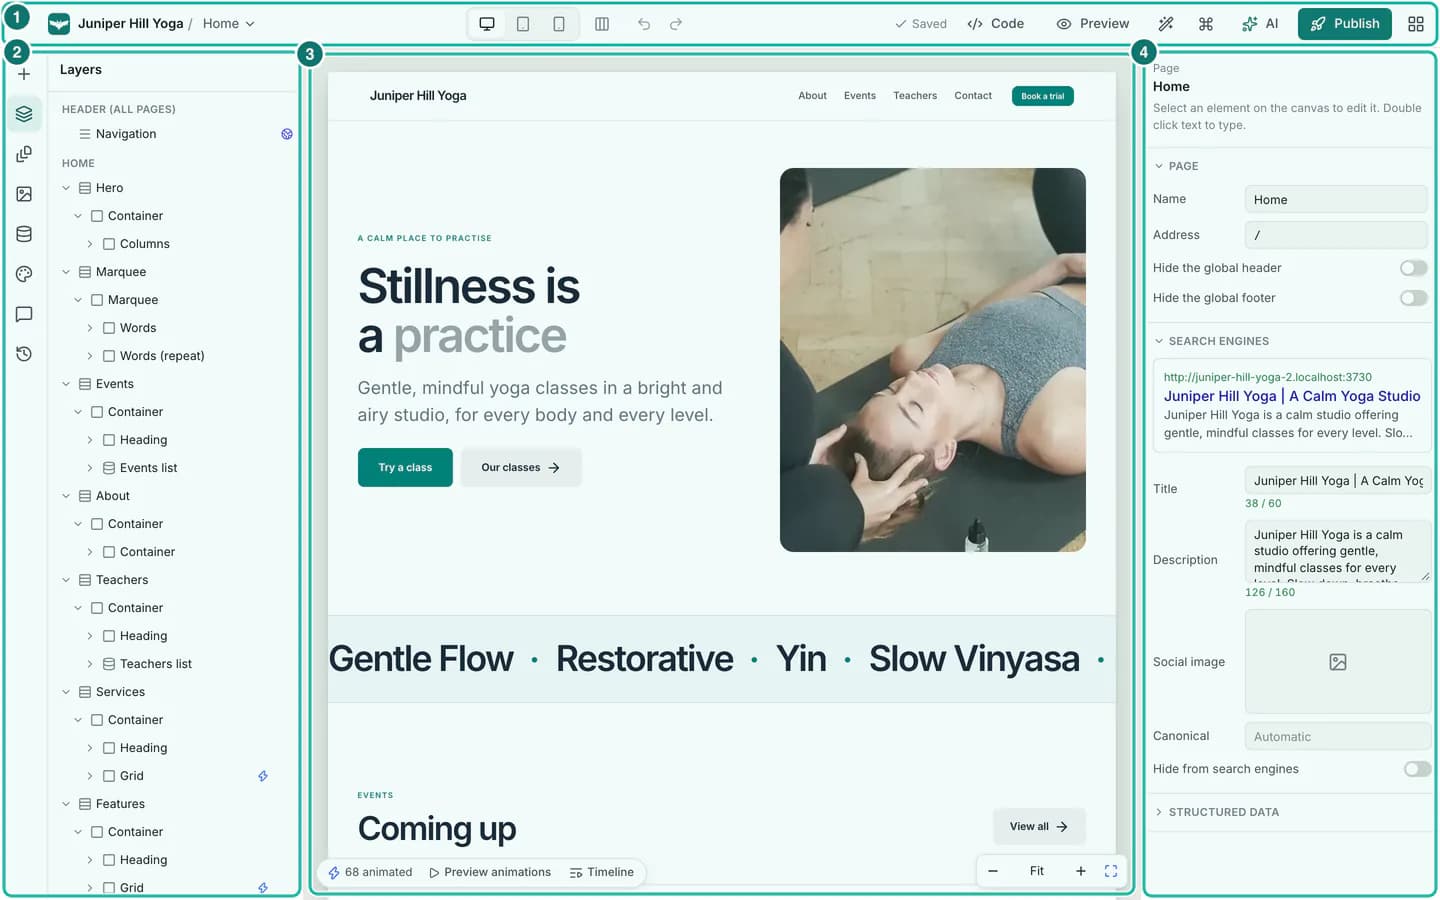
Here is a site generated from the Golden Crumb description above. It has a navigation bar, a full width hero with a photo and an Order a cake button, and sections for the bakery's menu and recipes, all in one matching style. The Layers panel on the left lists every section on the page, and the panel on the right shows the page settings, including how the page will look in search results.
Step 6: Click anything to edit it
Click any element on the canvas to select it. A small toolbar appears above it, and the inspector on the right switches to that element with its tabs: Content, Style, Layout, Motion and More. Double click text to type straight onto the page.
Every change saves automatically, and Undo is always one click (or ⌘Z) away. The editor tour explains every panel.
Step 7: Not quite right? Try a new design
If the look is not what you hoped for, you do not have to start again. Click Not quite right? Try a new design in the welcome note, or the magic wand button in the top bar, to open Try a new design.
Choose New look, same content to keep your words and pages with new colours, type and shapes, or Start over for a fresh site from your description. Pick up to three style directions, or none for ones that fit, and choose how many designs to make. You compare the alternatives side by side and keep the one you like. Your current design stays in version history, so nothing is lost.
The full walkthrough is in Edit your site with AI.
Step 8: Keep going on your phone
Your new site is ready to edit on a phone too. The phone editor has a bar along the bottom with Insert, Layers, Edit, AI, Undo and Preview, so you can fix a typo or ask the AI for a change while you are away from your desk.
Tips and pitfalls
- Be specific about what matters. "A bakery" gives a generic site. "An artisan sourdough bakery with breads, pastries, opening hours and custom cake orders through a form" gives a site with exactly those pages and that form.
- Put real facts in the description. Opening hours, your town, the services you offer and how people contact you. Facts you include are used; nothing is invented.
- Look for Sample badges. Placeholder content such as testimonials is marked as sample content in the editor. Replace it with real content. If you try to publish with sample content still on the site, Buildan.app warns you first in a Sample content will go live dialog.
- Swap stock photos for your own when you can. Generated sites use stock photos chosen to fit each section. Your own photos of your shop, products and team are almost always better.
- Mention a website for inspiration. You can name a site you like as a style reference, or your current website so your content comes over. See Use a reference website or your own existing site.
- Do not worry about getting it perfect. You can regenerate the design, ask the AI for changes, or edit everything by hand afterwards.
Summary
You described your business, chose a style or let AI choose, clicked Generate site and got a complete, multi page website in the editor, with nothing published. From here you can click anything to edit it, ask the AI for changes, or try a new design until it feels right. When you are ready, publish it and connect your domain.