Not everyone wants AI to write their first draft. Maybe you already know exactly how your site should look, or you simply enjoy building things yourself. Buildan.app gives you two ways to do that: start from a template, a complete site for your kind of business that you then make your own, or start from a blank site and add every section by hand.
In this tutorial you will create a yoga studio site from a template, look at everything that comes with it, swap a photo, add a page, and then build a second site from a blank page using the Insert panel.
What you need
- A free Buildan.app account. Sign up if you do not have one yet.
- Nothing else. Templates and blank sites do not use AI credits.
- The Free plan includes 2 sites, 10 pages per site and 100 CMS items. Pro and Business raise those limits; see Pricing for the details.
Part 1: start from a template
Step 1: Browse the template gallery
Open Templates in the top navigation of your dashboard. Every card is a live preview of a complete site: a restaurant, a cafe, a hair salon, a fitness studio, a dental clinic, a law firm and many more. Under each name you will see the content collections that come with it, such as Events, Hosts and Teachers for the yoga studio.
Scroll until you find a template close to your business. It does not need to be a perfect match: colours, fonts, text, photos and layout can all be changed later.
Clicking Use creates a new site straight away and opens it in the editor. The new site takes the template's name, so you will probably want to rename it in the site settings. If you prefer to name it first, use the next step instead.
Step 2: Name your site and pick a template
Go to Sites and start a new site, or open the new site page directly. At the top you will find three tabs: Describe it, Template and Blank. Choose Template, type your business name into Site name, then click the template you want.
The name you type replaces the template's sample business name throughout the site, so the header, footer and page titles already say your name when the editor opens.
The same page works on a phone, so you can start a site while you are away from your desk.
Step 3: See the pages that came with it
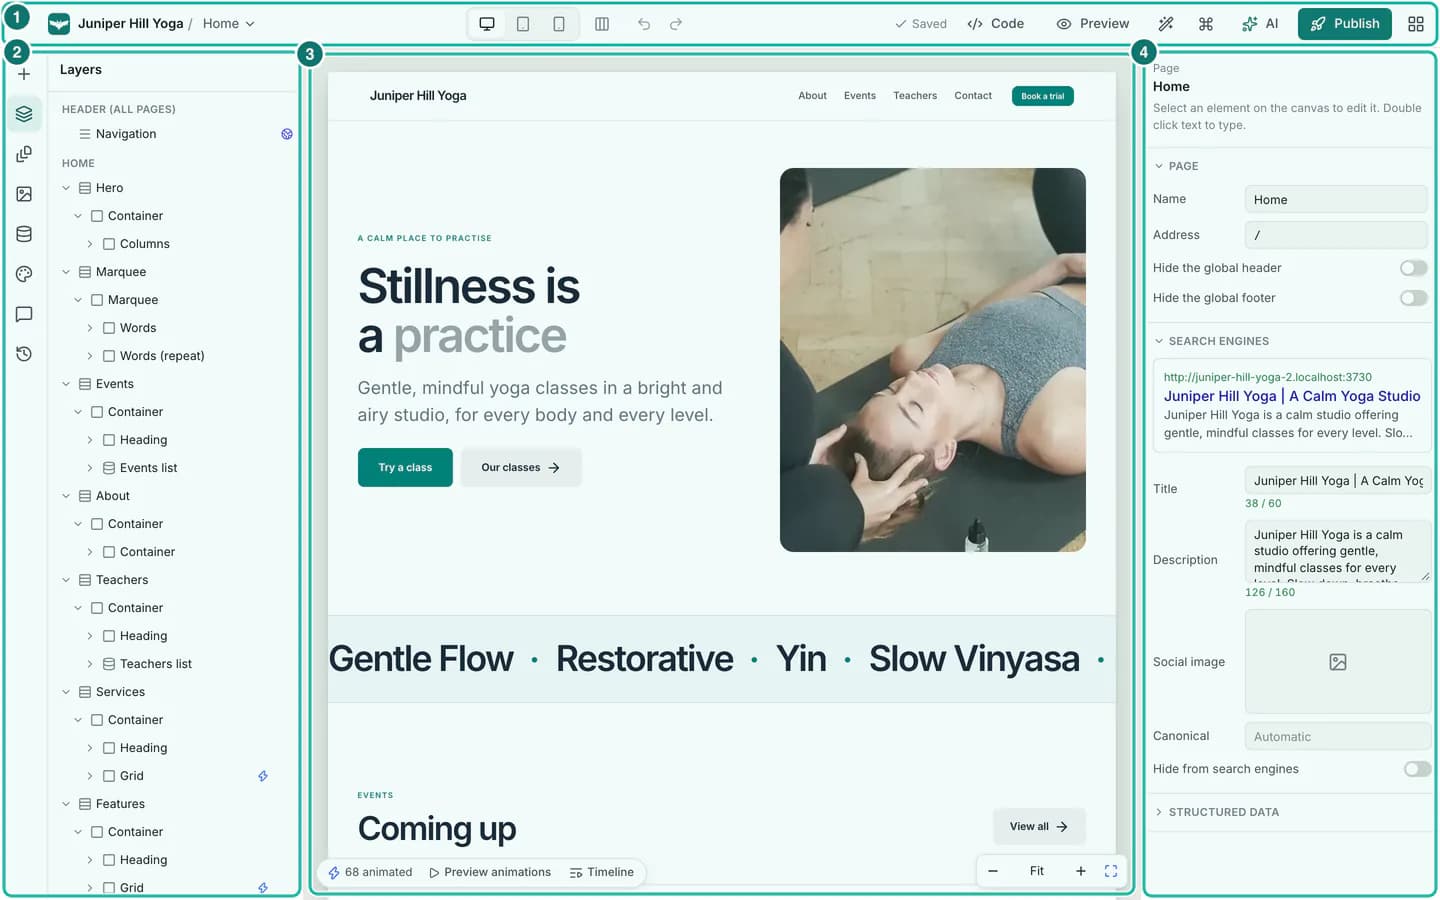
When the editor opens, click the Pages icon in the left rail. A template is a complete site, not a single page. The yoga studio comes with Home, About, Contact, Events and Teachers.
Below the normal pages you will see CMS templates. These are the pages that show a single item from a collection, for example one event or one teacher. You design them once and every item gets its own page at its own address.
Click any page to open it on the canvas. When nothing on the canvas is selected, the panel on the right shows the page's own settings: its name, its address and how it appears in search results.
Step 4: Check the sample content before you publish
Templates arrive with realistic sample content so you can see how the finished site will look. Anything that you must replace with real information, such as testimonials and reviews, carries a small Sample badge in the editor. The badge only appears while you edit; visitors never see it.
Open the CMS panel in the left rail to see the collections behind the site. Each one lists how many fields it has, and Manage opens the full content manager where you can edit, add or delete items.
Step 5: Swap in your own photos
Template photos are freely licensed stock photos, and the inspector reminds you to replace them with your own when you can. To change one, click the photo on the canvas, open Assets in the left rail, and click any image under Uploads. The selected photo is replaced at once.
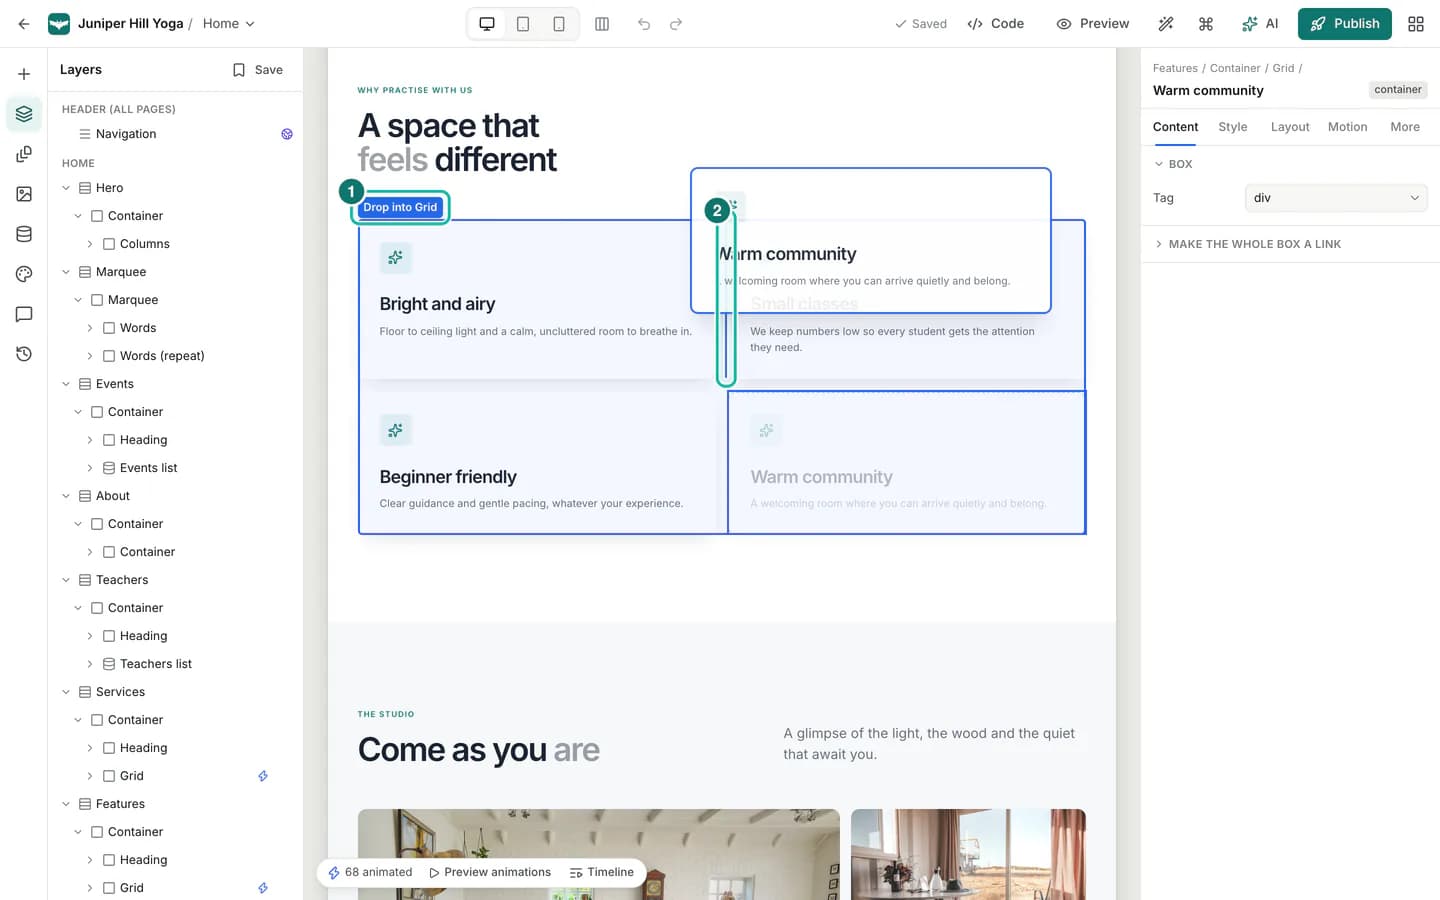
Use Upload at the top of the panel to add your own pictures. You can also drag an image from the panel straight onto the page, which creates a new image element where you drop it.
If you do not have a suitable photo yet, switch to the Photos tab and search the library of free, openly licensed photos. A photo you choose is copied into your site, and credits are added automatically when the photo's licence asks for them.
Step 6: Add a page of your own
Back in the Pages panel, click + Page. Give the page a Name; the Address fills itself in from the name, or you can type your own. Click Create page.
The new page starts empty, ready for sections. Further down the Pages panel, the Menu list controls your site's navigation: use Add a page to the menu, drag links to reorder them, or remove one with its bin icon. Hover a page in the list to duplicate or delete it. The home page cannot be deleted.
Part 2: build from a blank page
Step 7: Create a blank site
Start a new site and choose the Blank tab. Type a Site name and click Create blank site.
A blank site is not completely empty. It gives you a simple starting point: a home page with a hero and a short "What we offer" section, and a contact page with a working form. Everything uses neutral placeholder text, so you can keep what helps and delete the rest.
Step 8: Add sections from the Insert panel
Click the Insert icon at the top of the left rail, or press /. The Sections tab lists ready made sections grouped by purpose: heroes, features, conversion sections such as pricing and contact forms, social proof, and content sections such as FAQ, team, gallery and map.
Click a section to add it. If a section is selected on the canvas, the new one goes right after it; otherwise it goes to the end of the page. Here we selected "What we offer" and added Process steps.
You can also drag a section from the panel and drop it exactly where you want it. The search box at the top of the panel filters sections and elements by name.
Step 9: Add single elements
Switch to the Elements tab for smaller building blocks: layout boxes and columns, headings, paragraphs, buttons, links, images, galleries, video, forms, accordions, tabs, tables, maps, and store elements such as a buy button or a cart button.
Clicking an element puts it inside the selected container. If nothing suitable is selected, Buildan.app wraps it in a new section for you. As with sections, you can drag an element tile onto the page instead. The Saved tab holds components you saved to your workspace library, so you can reuse them on other sites.
Step 10: Edit text right on the page
Double click any text on the canvas to edit it in place, or select it and press Enter. A small toolbar appears above the text with bold, italic, underline, links, colour and alignment. Select all with ⌘A and type to replace the whole heading.
Press Enter or click somewhere else to finish. Your changes save automatically within a second or two, and the top bar shows Saved when they are stored.
Tips and pitfalls
- Name your site before you pick a template. The name you type on the Template tab replaces the template's sample business name everywhere. A site made with Use on the Templates page keeps the template's name until you change it.
- Look for Sample badges. They mark the content you must replace with real facts. Buildan.app asks you to confirm before publishing a site that still has sample testimonials.
- Selecting changes where things go. A new section goes after the selected section, and a new element goes inside the selected container. Press Esc to step out to the parent, or click empty canvas, before inserting if you want something at the end of the page.
- Undo is always there. Press ⌘Z to undo and ⌘ShiftZ to redo. On Windows, use Ctrl instead of ⌘.
- Photos you upload count towards your storage. The Free plan includes 500 MB, which is plenty for a small site with well sized photos.
- Save a site as a template. Built something you want to reuse for other clients? Save it as a template from the site's Settings page and it appears at the top of the template list in your workspace.
Summary
You now have two quick ways to start without AI. A template gives you a complete, photographed site with pages, collections and CMS page designs already set up; you rename it, replace the sample content and swap the photos. A blank site gives you a clean starting point that you build up with sections and elements from the Insert panel, editing text directly on the page.
Next, take the editor tour to learn every part of the editor, or see how to drag, drop, resize and align elements on the canvas.