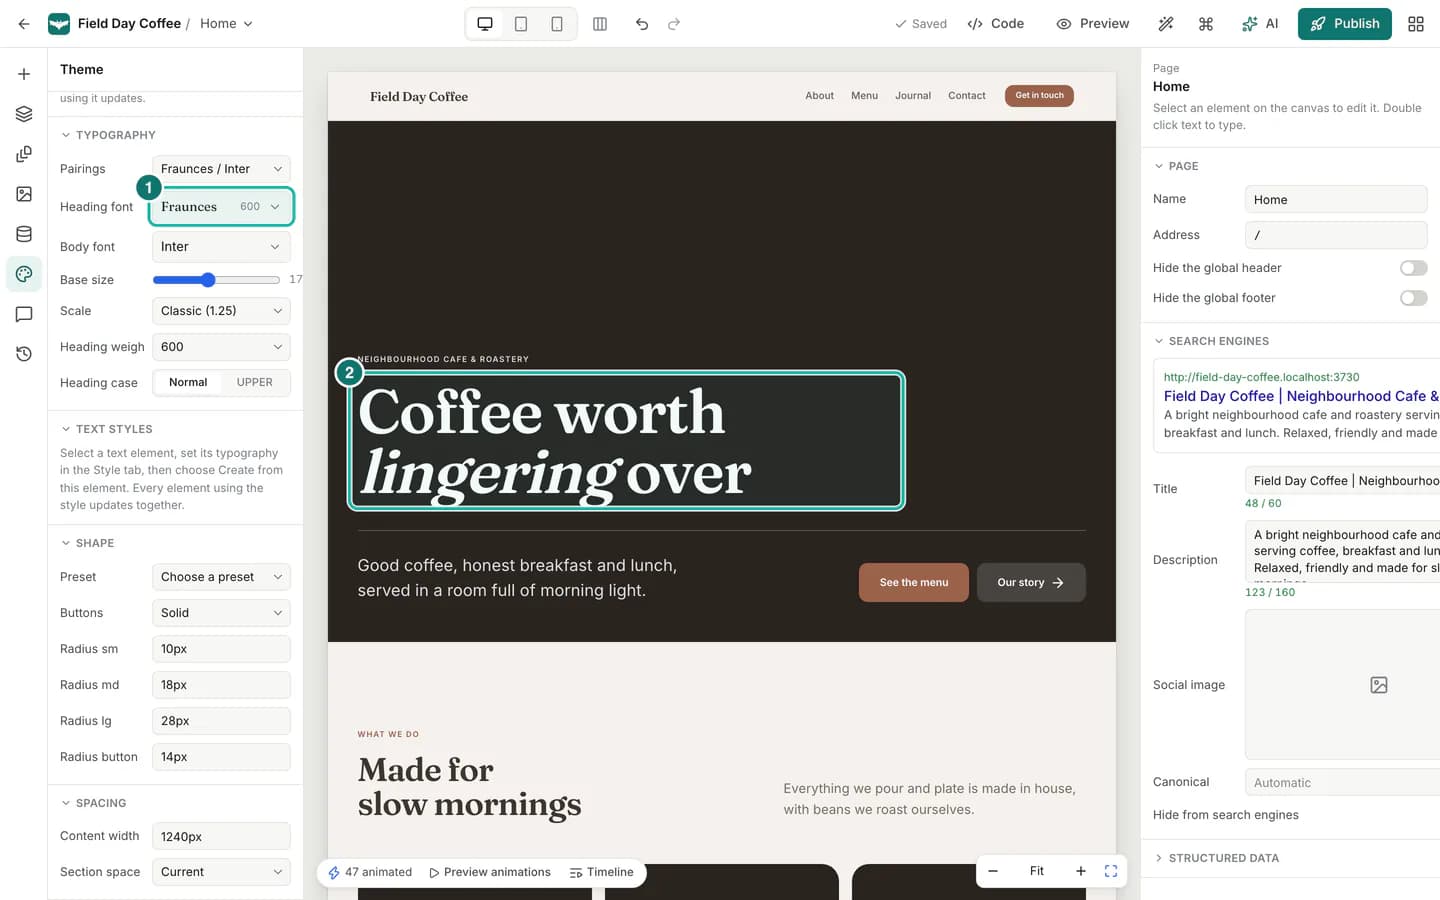
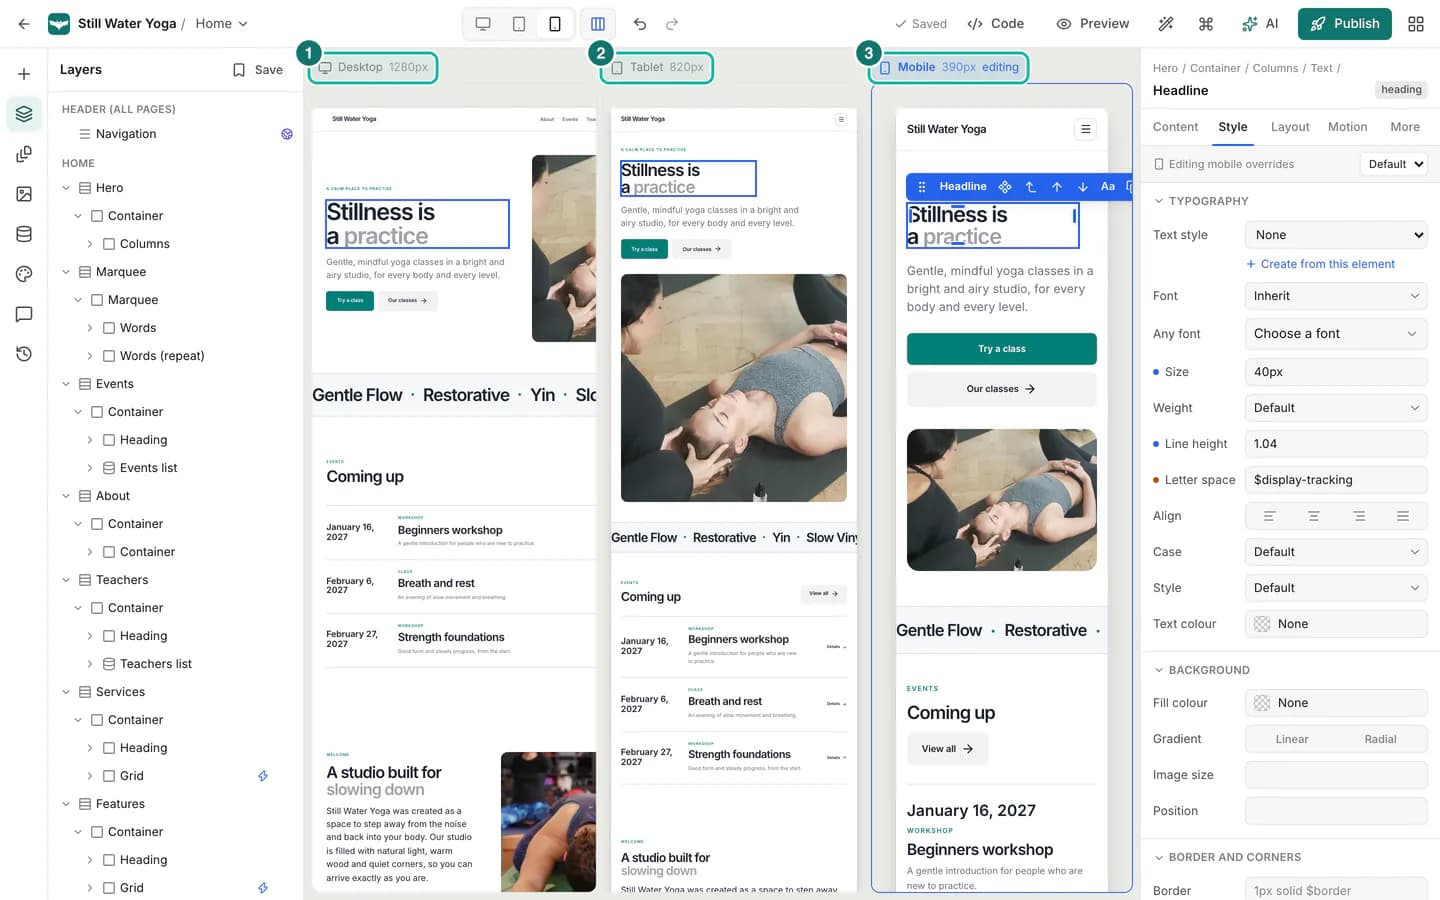
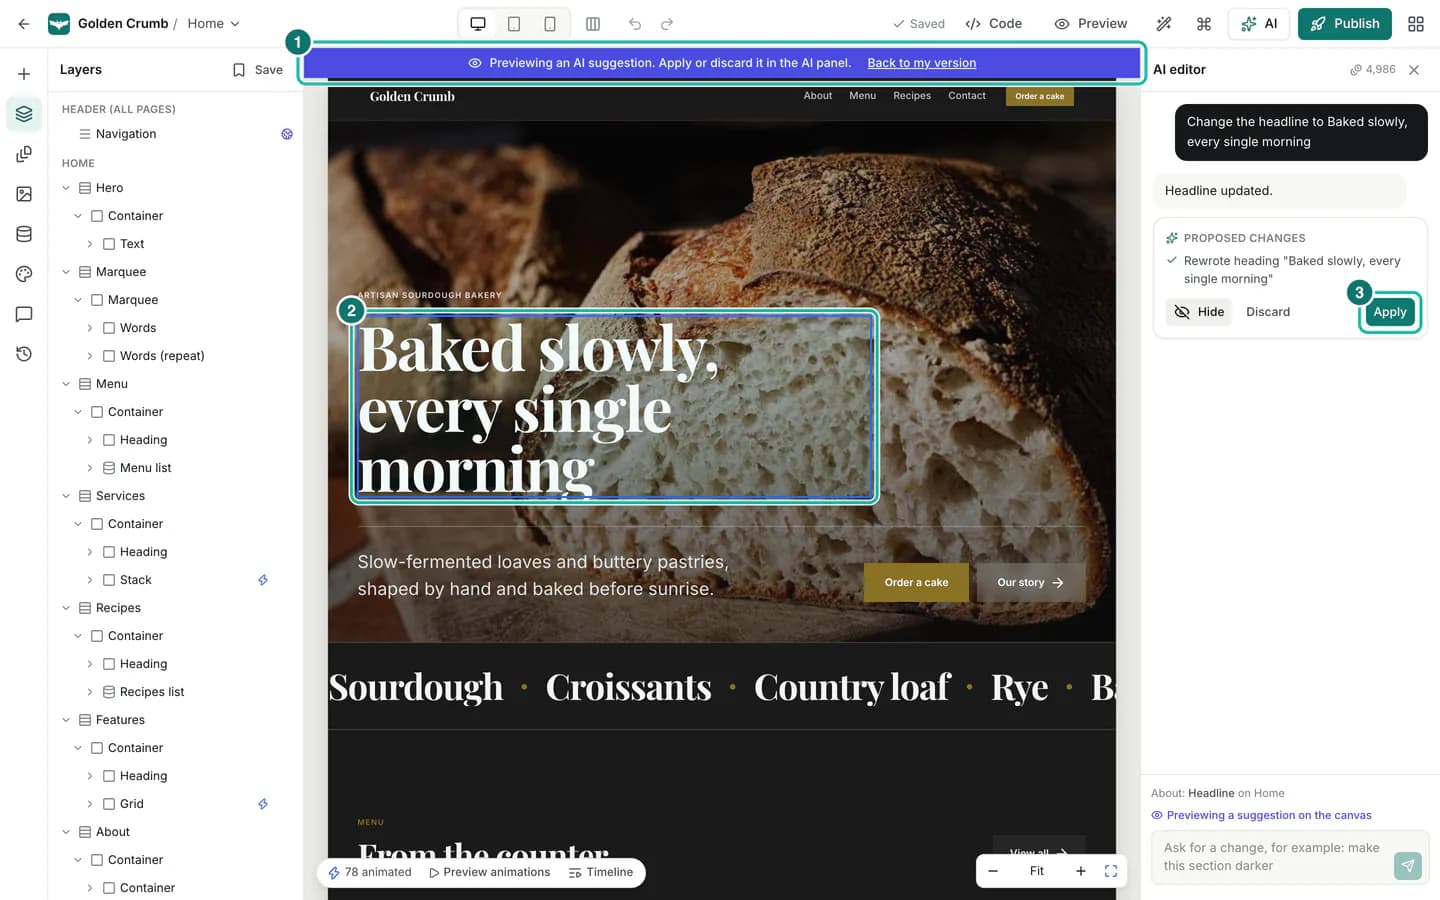
A little movement makes a site feel cared for: a headline that rises into view word by word, photos that drift gently as you scroll, a button that lifts under the pointer. Too much movement does the opposite. Buildan.app gives you a library of tuned presets for the first kind, and full control when you want to shape an effect yourself, while keeping your site comfortable for visitors who ask their device for less motion.
In this tutorial you will add a staggered text reveal to a heading, look at the triggers and timing, give an animation a spring, edit keyframes on the timeline, add a scroll linked parallax to a photo and a hover effect to a button, and set how each effect behaves on phones and for reduced motion.
What you need
- A Buildan.app account on any plan, including Free. Animation is available on every plan.
- A site to work on. We use the Photographer template. Sites made with AI and templates usually already have some animation, which you can keep, change or remove.
Find the animation tools
Step 1: Look at the motion bar
At the bottom left of the canvas, the motion bar tells you how many elements on the page are animated, here 67 animated. Preview animations plays scroll into view, hover, scroll, loop and pointer effects right on the canvas, and Timeline opens the timeline under the canvas.
Point at an element and a small lightning badge appears on it if it has an animation. Click the badge to select the element and open its timeline.
Add a text reveal from a preset
Step 2: Open the Motion tab and browse presets
Select an element, here the Recent galleries heading, and open the Motion tab in the inspector. Under Presets you will find 61 ready made effects in six kinds: Entrance, Text, Scroll, Hover, Loop and Pointer. Point at a preset to see it play in its thumbnail.
Click Text to see the text effects. These split a heading into lines, words or letters and animate each piece in turn.
Step 3: Apply Words rise and adjust it
Click Words rise. It appears in the Interactions list as Words rise, Scroll into view, by word. Each word now rises out of a mask when the heading scrolls into view.
Under What moves you can see how it works: Text is selected, split by Words, with Mask (reveal from behind an edge) on. Change Split by to Lines or Letters, set the Stagger (the gap between pieces, in seconds) and the Order: First to last, Last to first, Centre out, Edges in or Random.
Step 4: Pick a trigger
Every animation has a trigger that says when it plays. Click Add in the Interactions header to add a blank interaction with one of these triggers, or change the trigger of an existing one in the When field:
- Scroll into view: plays when the element appears on screen. Set how much must be Visible, an Offset, and whether to Play every time it appears.
- Page load: plays as soon as the page opens.
- Hover, Press and Click: respond to the pointer. Click can toggle back and forth or play each time.
- Scroll linked: follows the scroll position, forwards and backwards.
- Loop: repeats, forever or a set number of times.
- Pointer: follows the visitor's pointer, for parallax and tilt effects.
An element can have several interactions, for example an entrance and a hover effect.
Shape the timing
Step 5: Set duration, delay and easing, or use a spring
Under Timing, set the Duration and Delay in seconds. Click Easing to choose how the movement speeds up and slows down. The easing editor has three tabs:
- Curves: named curves such as Out quint or In out cubic, each with a small graph.
- Bezier: drag two handles to draw your own curve.
- Spring: a physical spring with Stiffness, Damping and Mass. Quick picks Gentle, Snappy, Bouncy and Wobbly are a good place to start.
A spring tells you how long it takes to settle, for example Settles in 1.39 s. Click Use as duration to match the animation's duration to it.
Step 6: Edit keyframes on the timeline
For full control, click Timeline in the motion bar or the timeline button on an interaction. The timeline opens under the canvas with the selected element's interactions as tabs.
The Timing bar shows when the animation starts and how long it runs: drag it to change the delay, or drag its end to change the duration. Below it, each property (here Move Y) has a track with diamond keyframes. Click a keyframe to edit its Time, Value and Easing in the panel on the right, or Delete keyframe.
Double click a track to add a keyframe, drag keyframes to retime them, and click the ruler to move the playhead. Space plays and pauses, and Delete removes the selected keyframe. Live runs the real triggers on the canvas while you work.
Scroll and hover effects
Step 7: Add a scroll linked parallax to a photo
Select a photo, open Motion, choose the Scroll kind and click Parallax slow. The photo now moves a little slower than the page as you scroll, which gives a sense of depth.
The Trigger group shows the scroll settings. Progress of chooses whether the effect follows the Element, its Section or the whole Page. Range sets when it runs: Whole pass, While fully visible, While entering or While leaving. Start and End narrow it further, and Smoothing eases the motion behind the scroll position. Dashed markers on the canvas show where the effect starts and ends.
Step 8: Add a hover effect to a button
Select a button and choose the Hover kind, then Hover lift. The button now lifts slightly when a visitor points at it. It keeps its entrance animation too: both appear in the Interactions list.
For hover, Area decides what the visitor has to point at: the Element itself, its Parent (for example, the whole card) or the Section. Out sets how long the button takes to settle back when the pointer leaves.
Phones and reduced motion
Step 9: Tune effects per device and for reduced motion
Open Breakpoints in the Motion tab. For Tablet and Phone you can switch an effect On or Off, and set its Strength from 0 to 2 times, which scales distances, angles and blur. Desktop settings apply unless you change them here, and phones follow tablet changes. Some presets already tone themselves down on phones; this parallax uses half the strength on a phone.
Then open Reduced motion. Some visitors set their device to reduce motion, for example because movement makes them feel unwell. For them, entrances appear at once without moving. For scroll, loop and pointer effects you choose: Stay still, or Show final state to jump straight to the end of the effect.
Tips and pitfalls
- Less is more. One entrance per section and a hover effect on buttons is usually plenty. If everything moves, nothing stands out.
- Keep entrances short. Most good entrances last under a second. Long delays make visitors wait for your content.
- Use text reveals on headlines, not paragraphs. Splitting long text into words makes it slower to read.
- Copy and paste animations. With the Motion tab or the timeline open, ⌘⌥C copies the selected element's animation and ⌘⌥V pastes it onto other elements. The copy and paste buttons in the Interactions header do the same.
- Turn an effect off without deleting it. The eye button on an interaction switches it off, so you can compare the page with and without it.
- Check on a phone. Use the Breakpoints group to calm down large movements on small screens. See Responsive design.
- Respect reduced motion. Every preset already respects it. If you build your own scroll or loop effect, decide whether Show final state or Stay still fits it best.
Summary
Select an element and open the Motion tab to add animation. Presets give you tuned entrances, text reveals, scroll effects, hover effects, loops and pointer effects in one click. Each interaction has a trigger, timing and easing, including springs, and What moves lets you animate the element, its children or its text by lines, words or letters with a stagger. The timeline gives you keyframe control, the Breakpoints group tones effects down on tablets and phones, and Reduced motion keeps your site comfortable for every visitor.
Ready to try it on your own site? Start free, or learn how to edit your site with AI, which can also add animations for you.